One day, someone's head will implode from my corny titles. ^^
I spent the better part of the weekend making this:
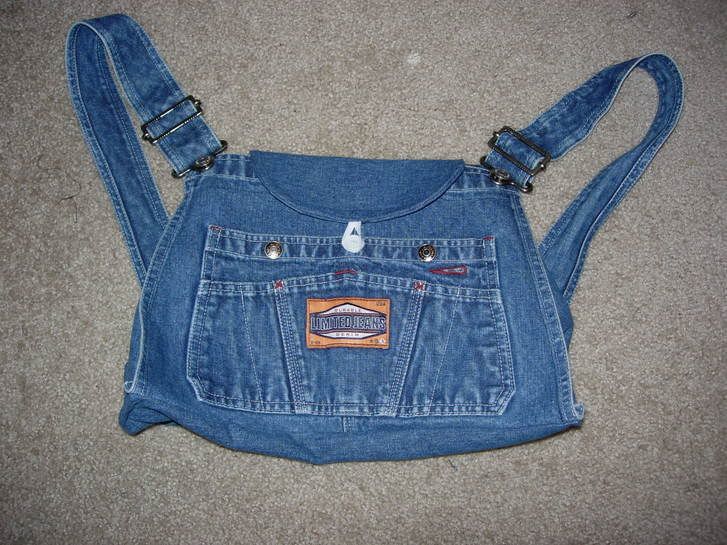
If you can't tell, it's a knapsack made out of a pair of overalls!
I cut off the top of the overalls, split the back down the middle to make the straps, and took material from the pantlegs to make the bottom, sides, flap, and back of the bag. I sewed on a white button in the middle and a little loop of elastic to keep the flap closed. I don't have much more lining material (from making all those skirts, I'd imagine), so I lined the inside with lots of blue flannel: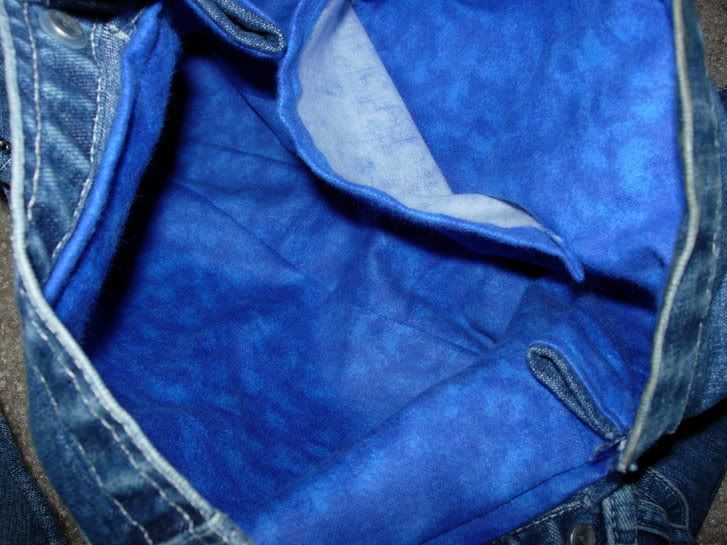
There's a pocket inside on the back. And it's super roomy inside.
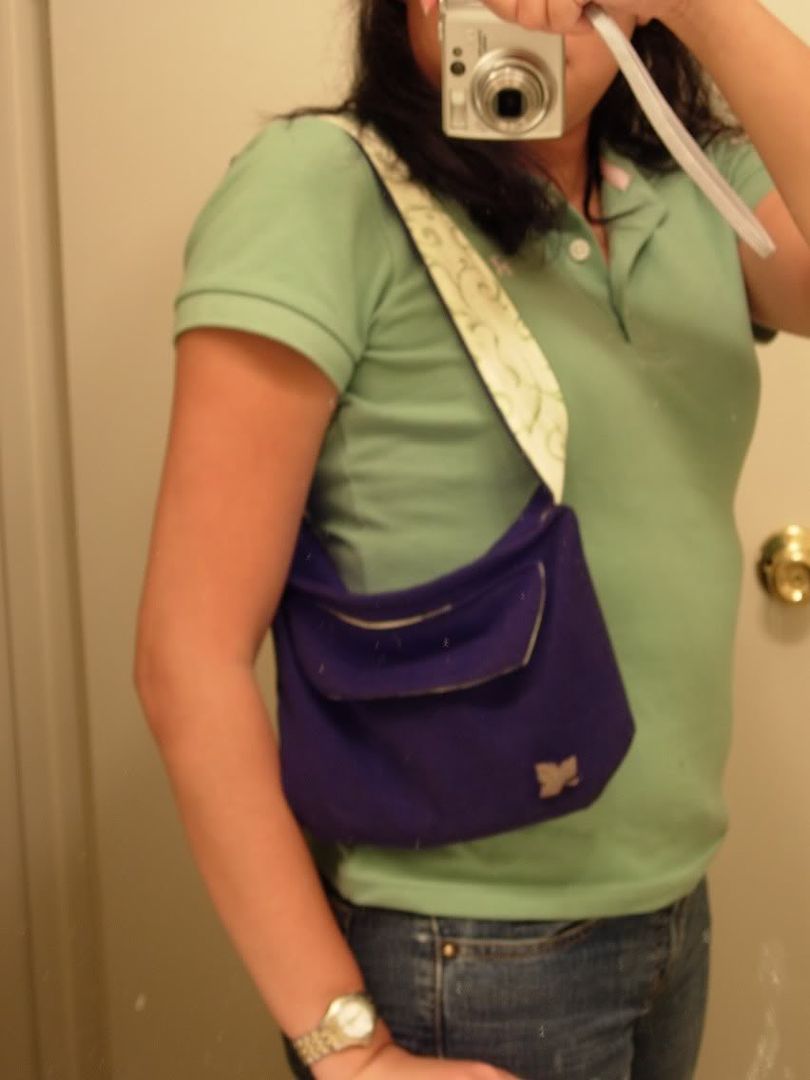
My knapsack in action (sort of):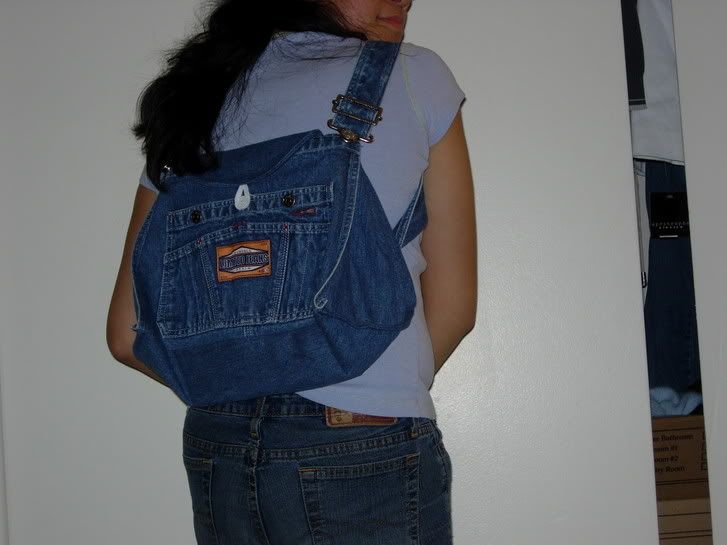
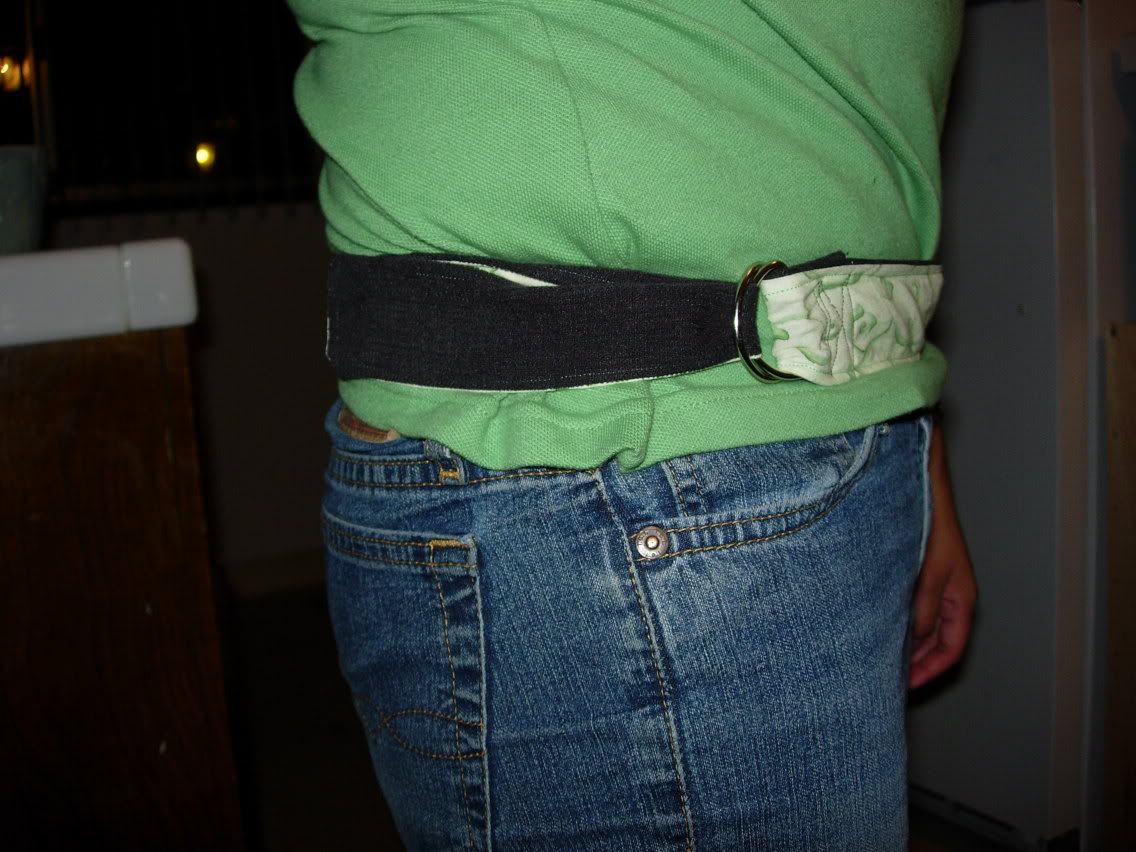
It fits me really pretty well, but if I needed it higher up or closer, I could easily adjust it because the overall straps are already adjustable.
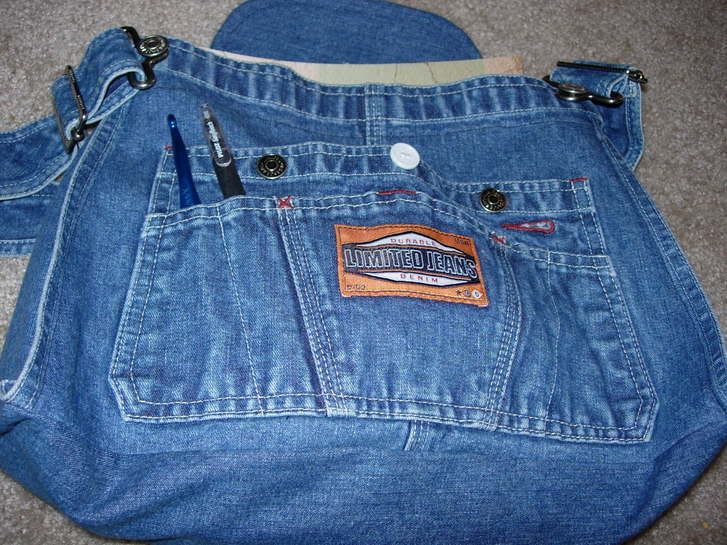
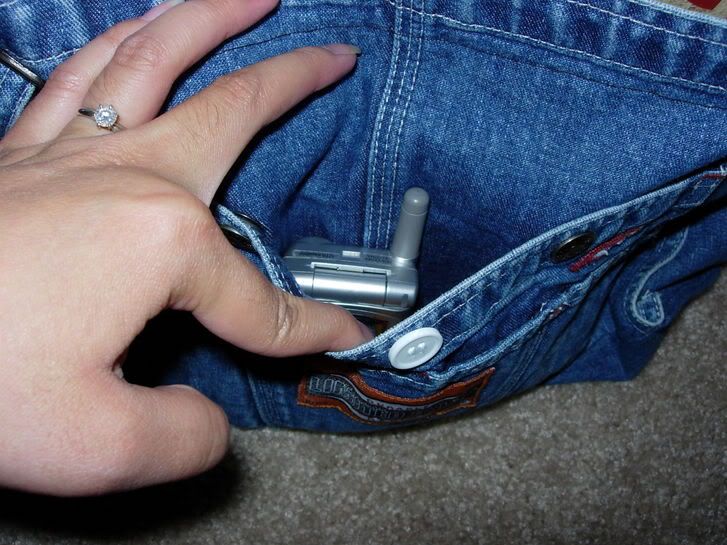
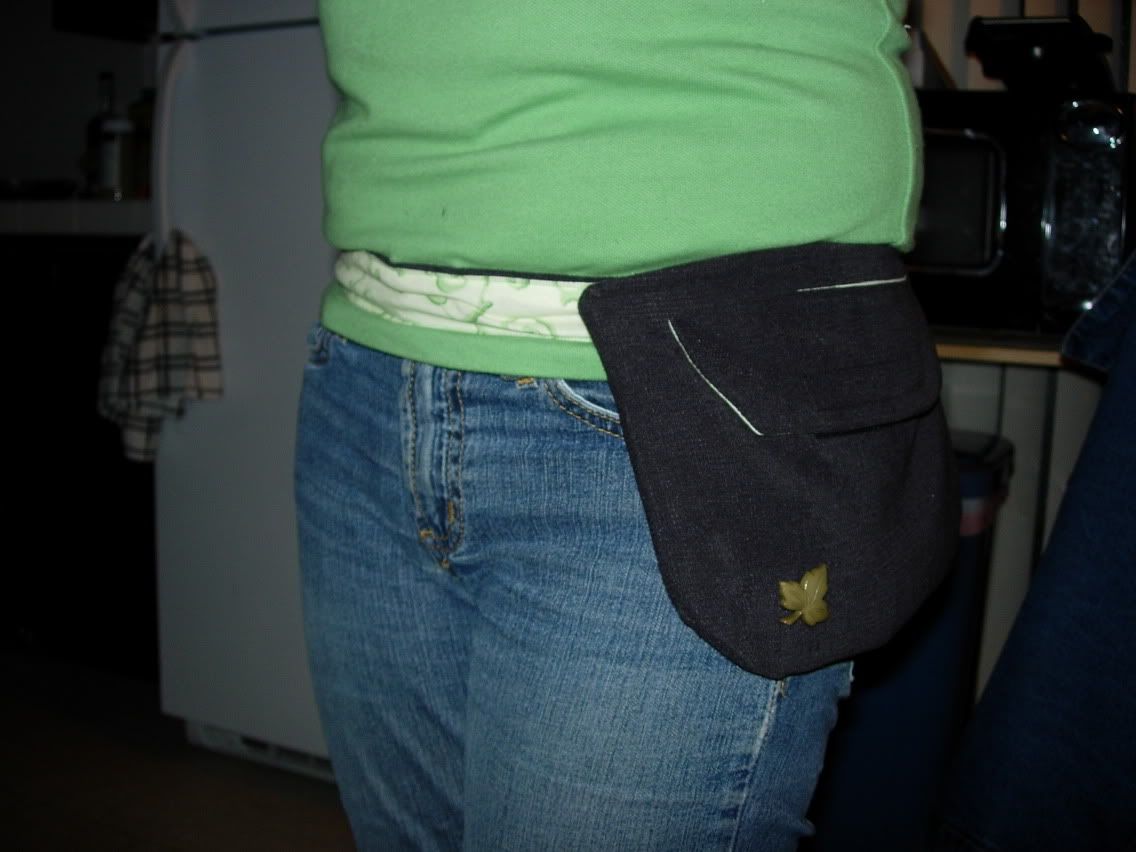
The best part of using the overalls are the readymade pockets! There are those little skinny pockets for pens, pencils, crochet hooks, etc. And then there's a big pocket where I can put my cellphone and keys for easy access:
And the inside is big enough to hold a big book (or several little books), my wallet, and a few essentials: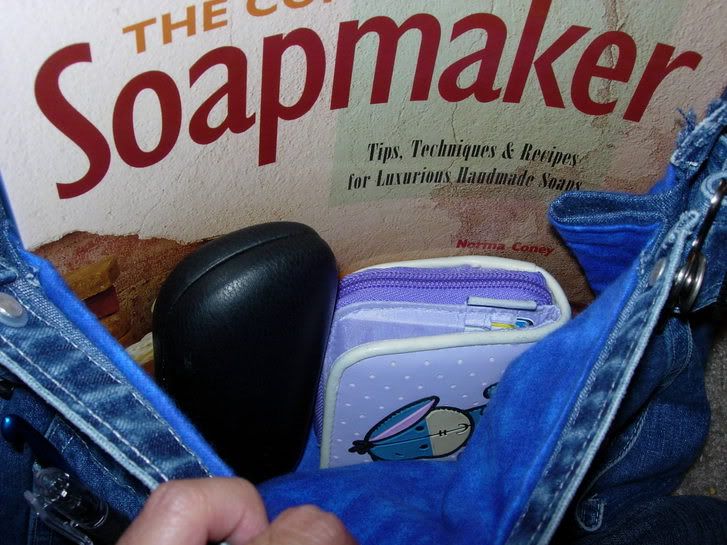
I'd have to say that this is my most professional-looking venture into sewing so far. I'm very proud of myself! I think I'm getting a lot better at sewing, and I really took the time to get things right. There are a few things I'd change if/when I make this again (I'd make the bottom corners round, for instance), but it was a huge success and I think it looks great. What's even cooler is that I only paid like $2 for these overalls at the thrift store. I bought 2 pairs of overalls and a book at the Salvation Army for $4.55 (Sales at thrift stores is the coolest idea ever). I'm still deciding what I want to do with the other pair of overalls. Should I make another backpack, or a messenger bag? Hrm...


 Thus begins a crazy slew of birthdays! It seems that one after the other, Pineapple has a birthday, then Kumquat, then Pineapple again. Kumquat finds that she is unable to live as free a lifestyle as she would like, as she juggles the lives of an aspiring rock star and a single mother.


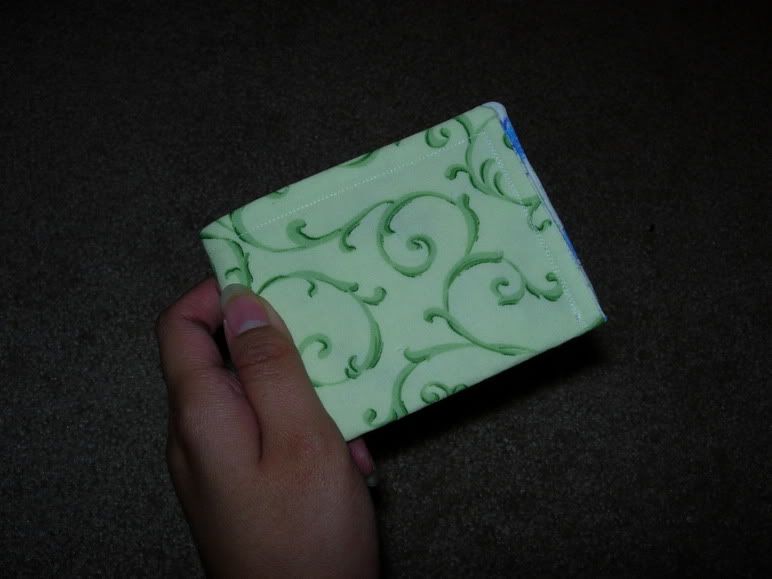
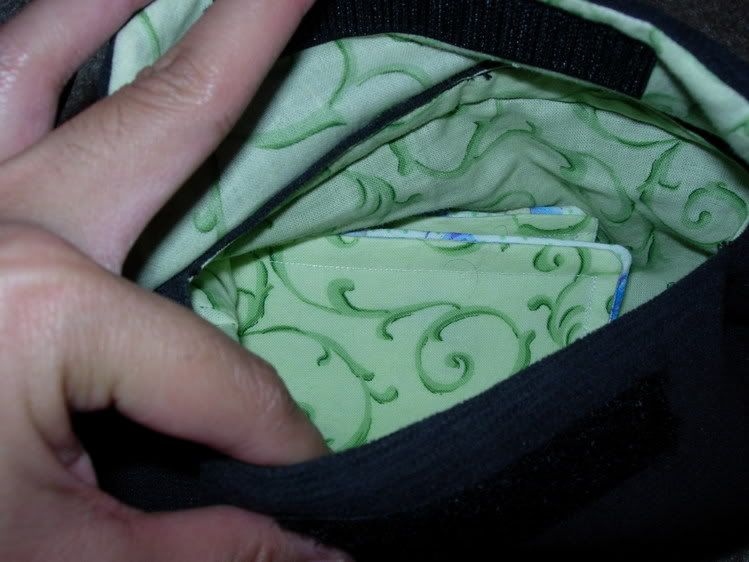
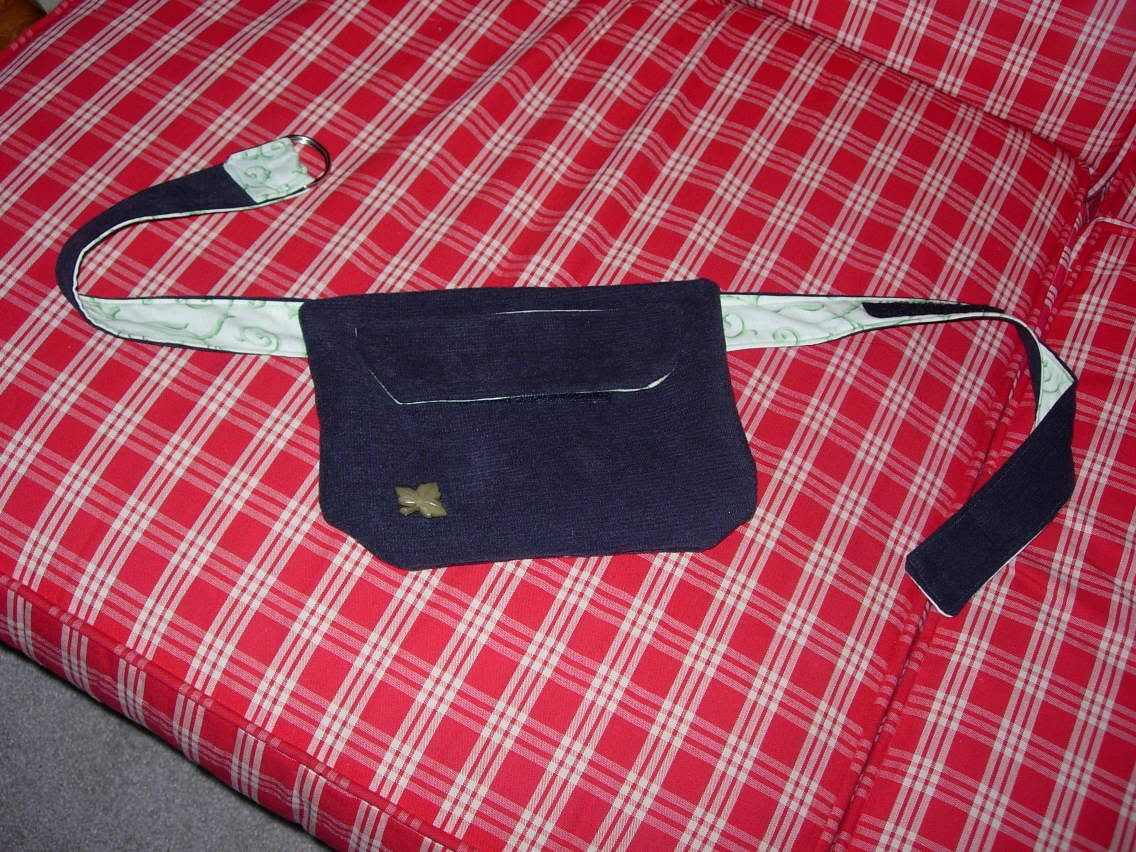
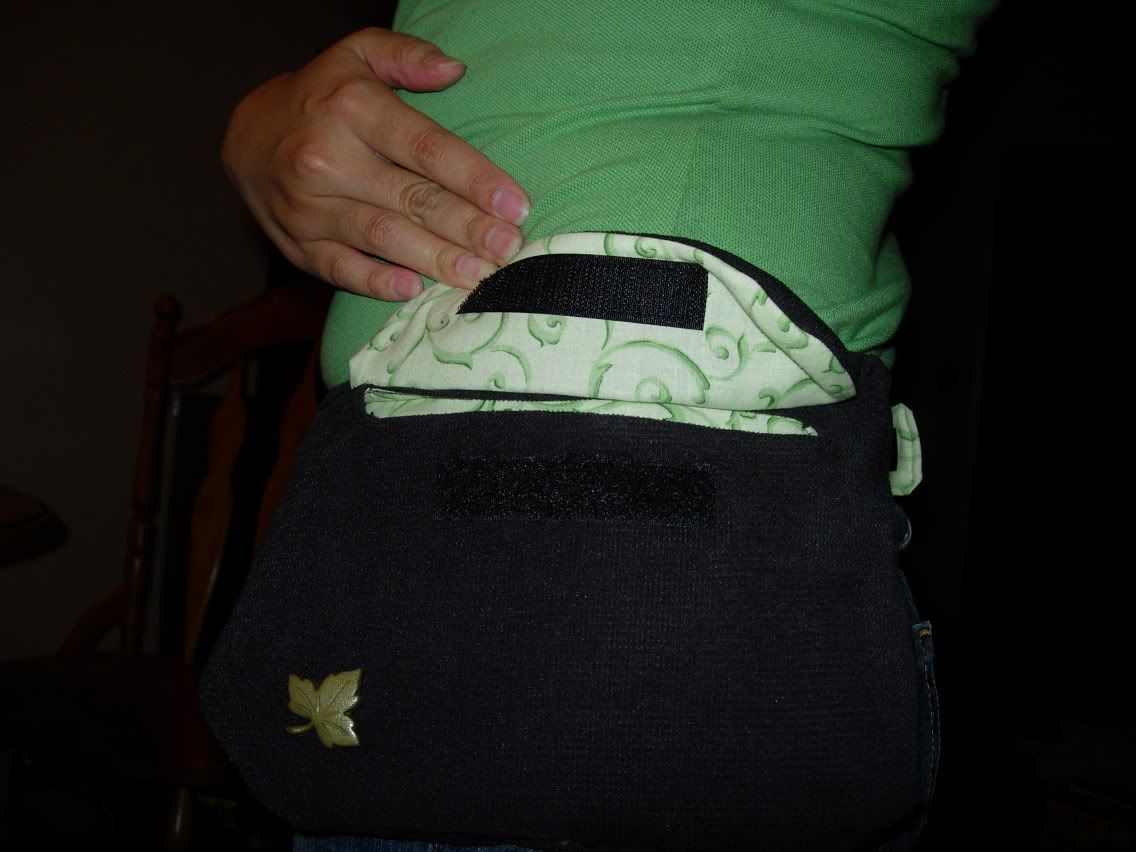
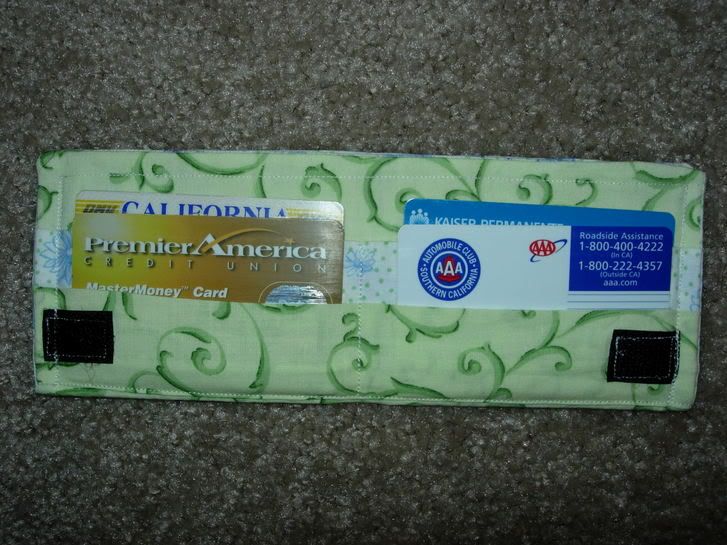 I use it all the time now, even when I'm not using my hipslinger, and it holds all my cards with room to spare. I used the same green swirly fabric for the outside...
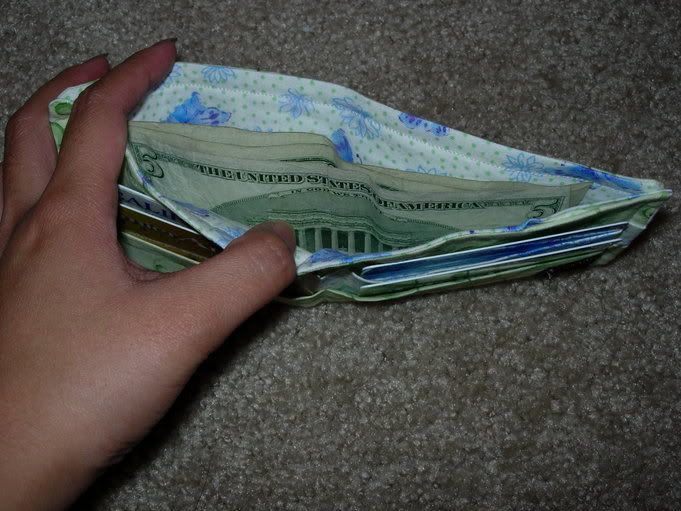
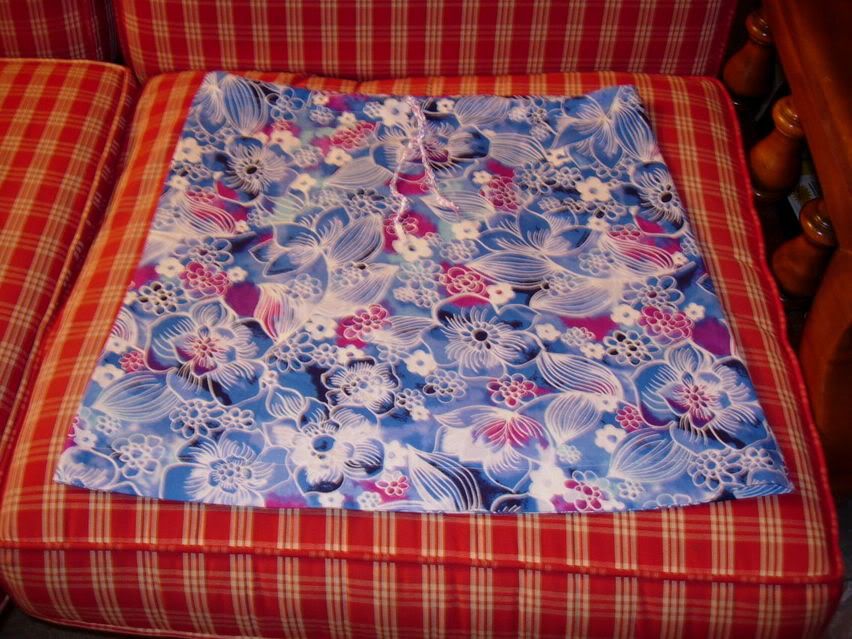
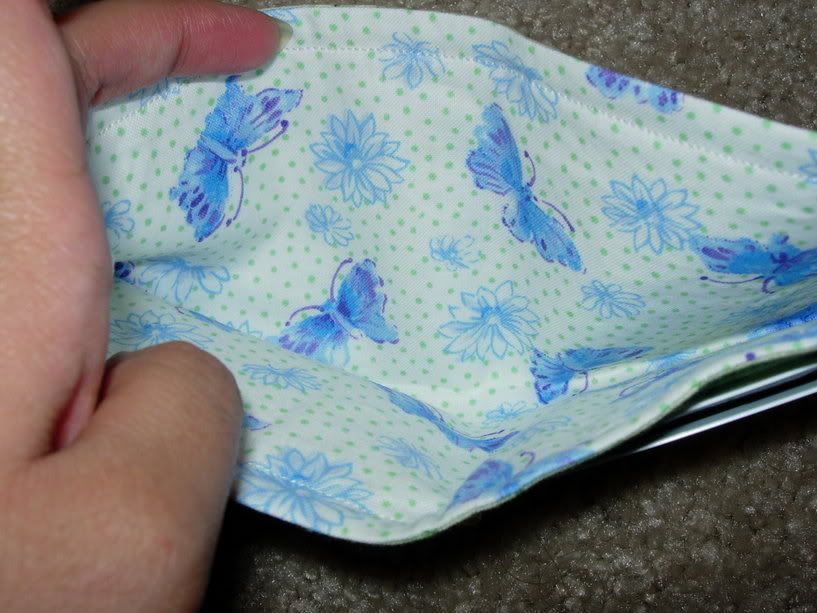 ...And super cool blue butterfly fabric for the inside.
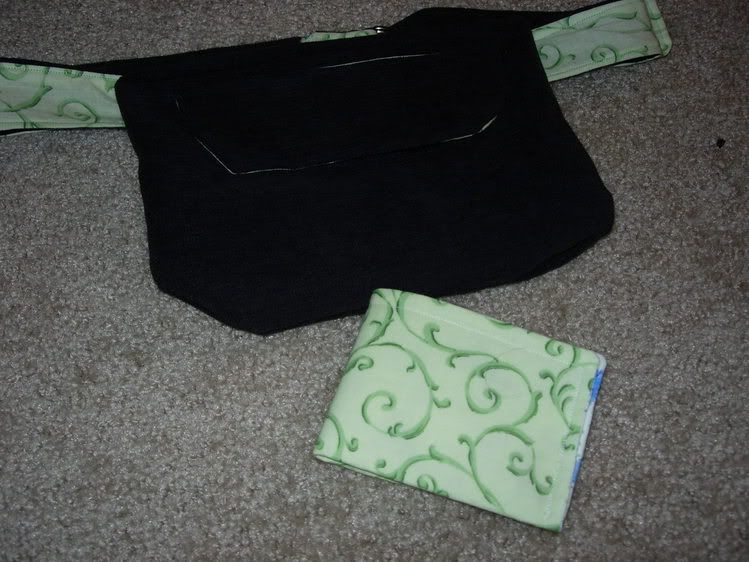
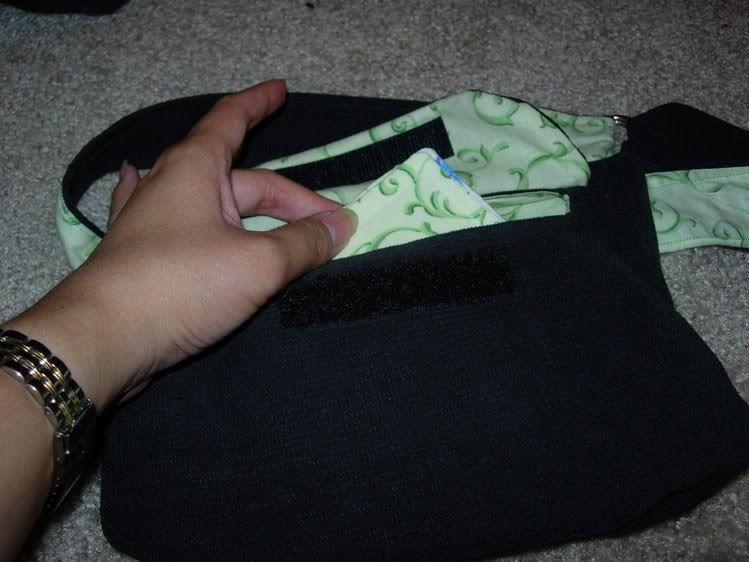
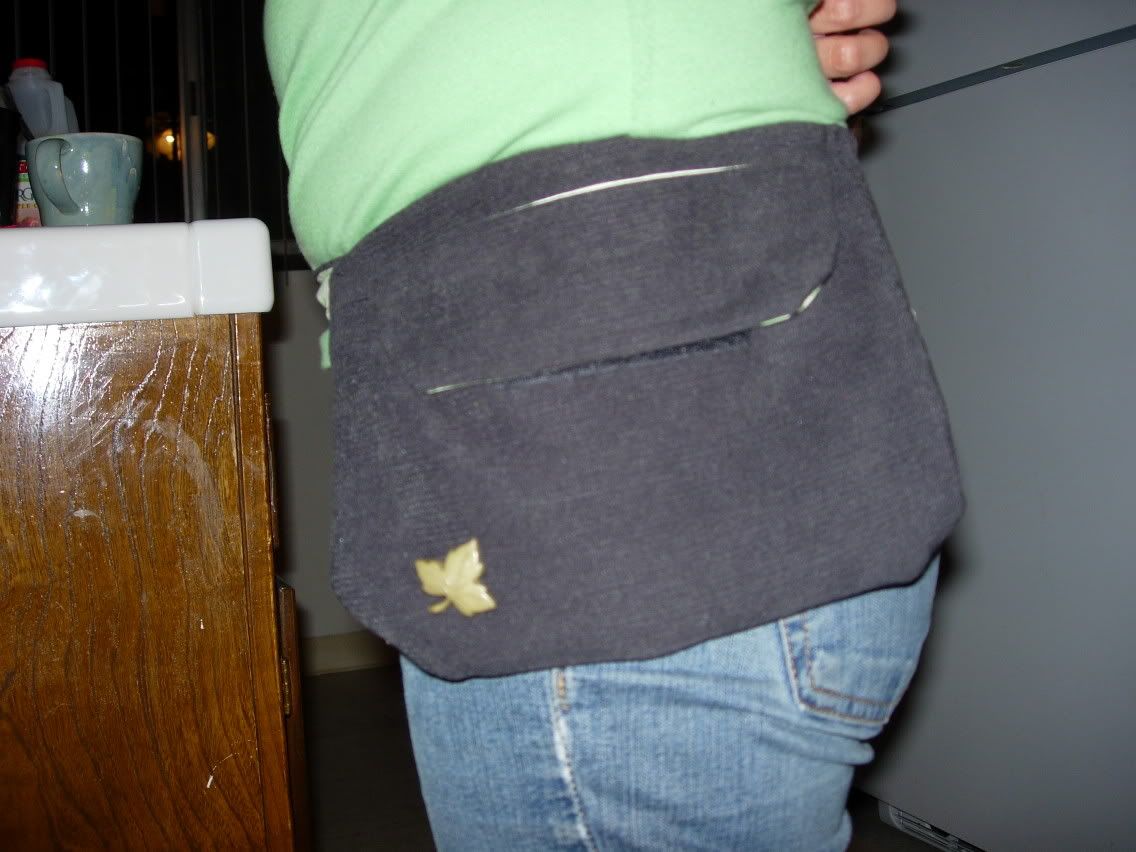
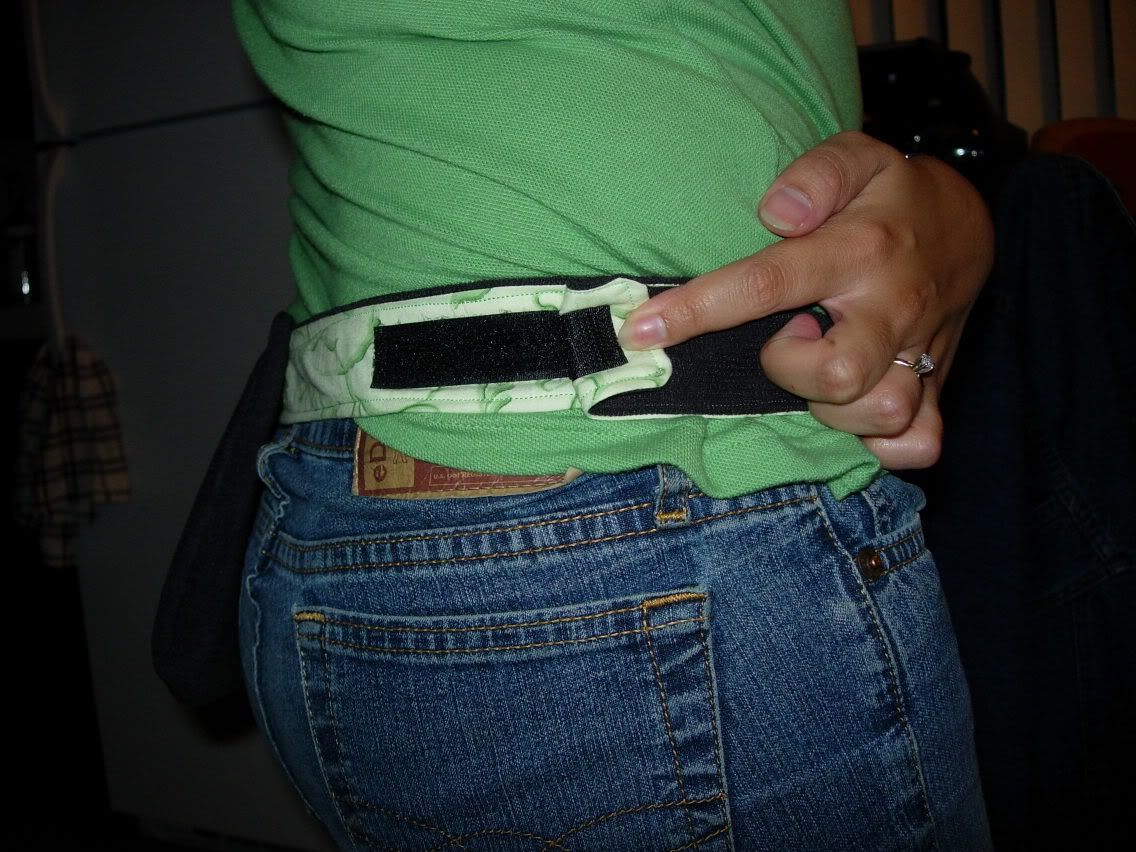
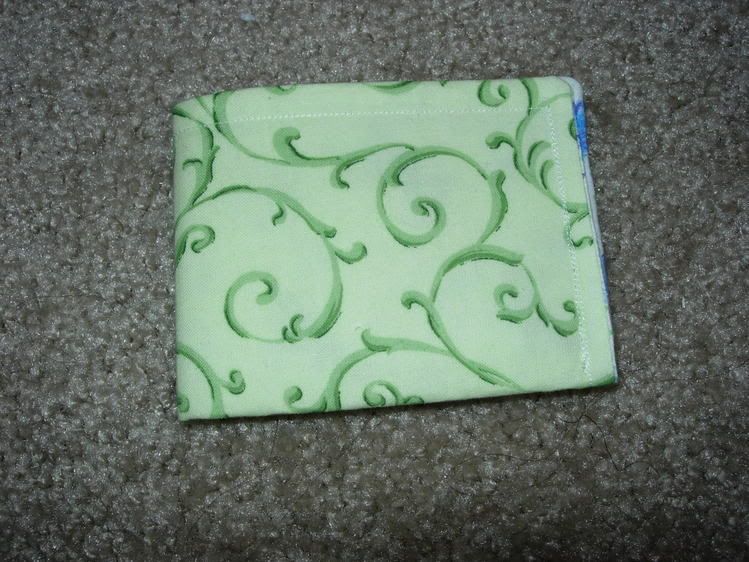
 And check it out! If I decide I'm too cool for a hipslinger (it could happen), it turns into a small handbag at the drop of a hat.
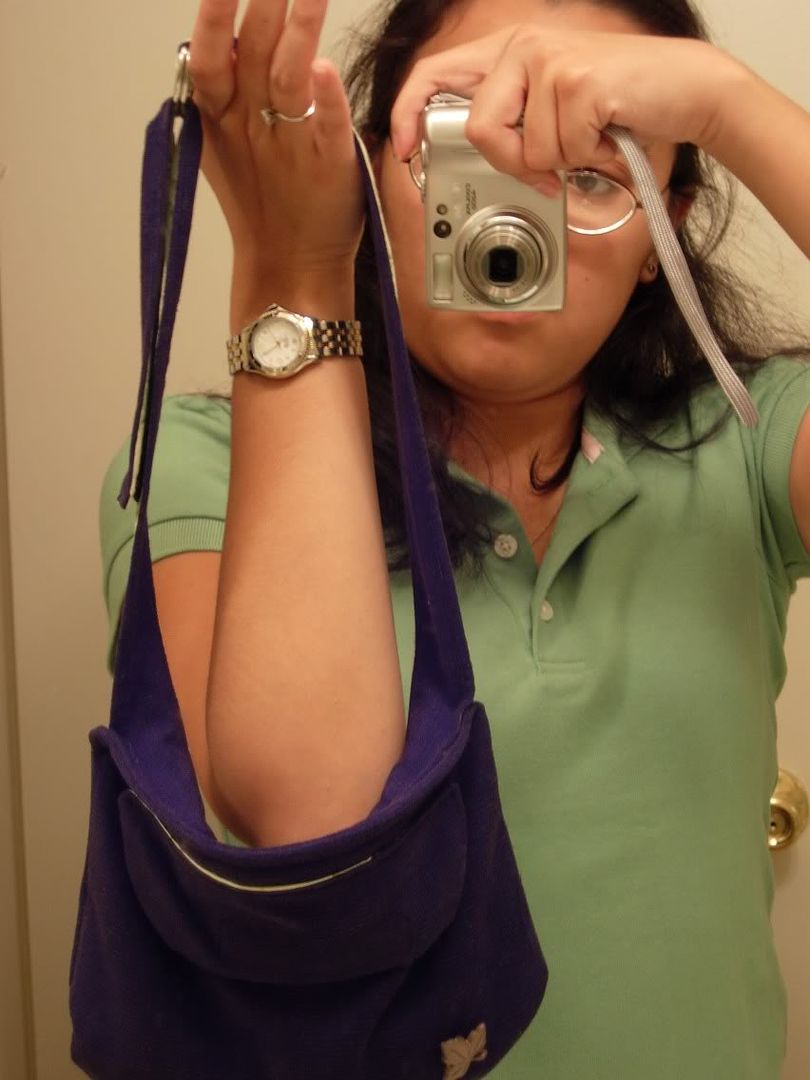 See? Just looped and velcro-ed, and it's a purse! (Aren't mirror pics trippy?)
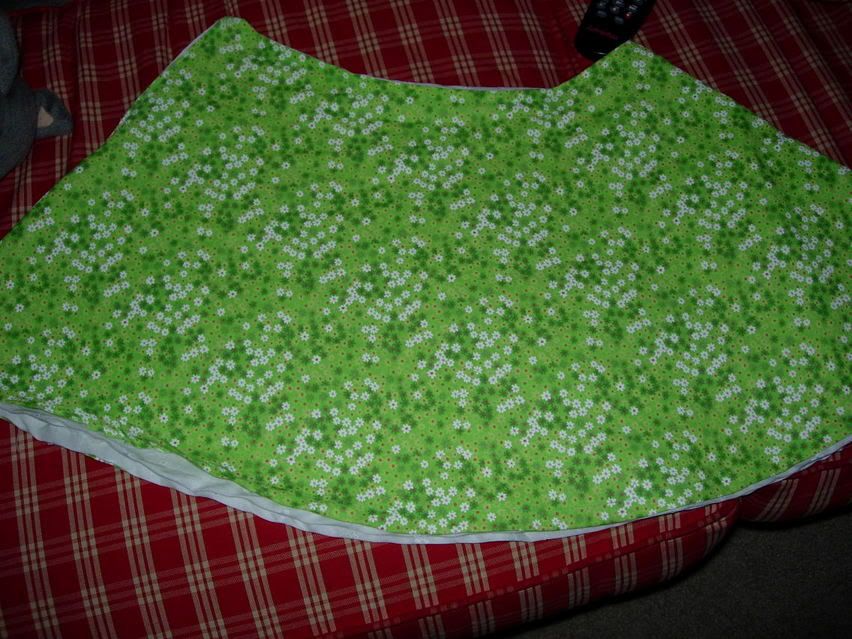
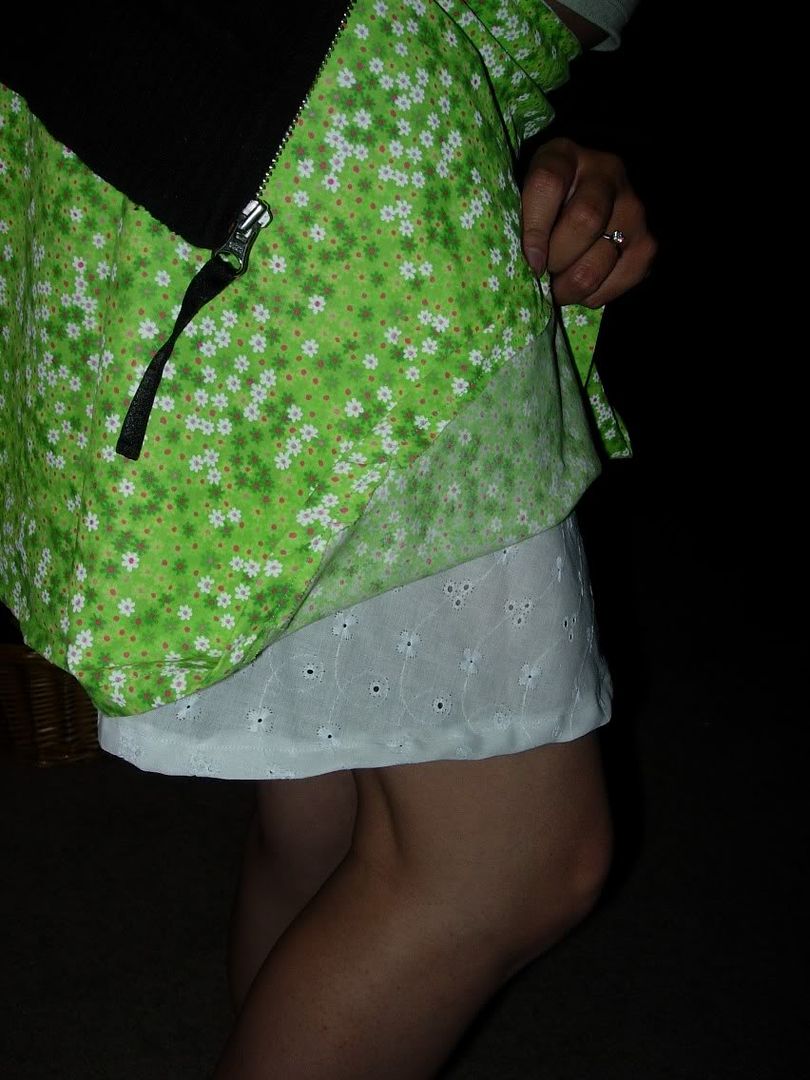
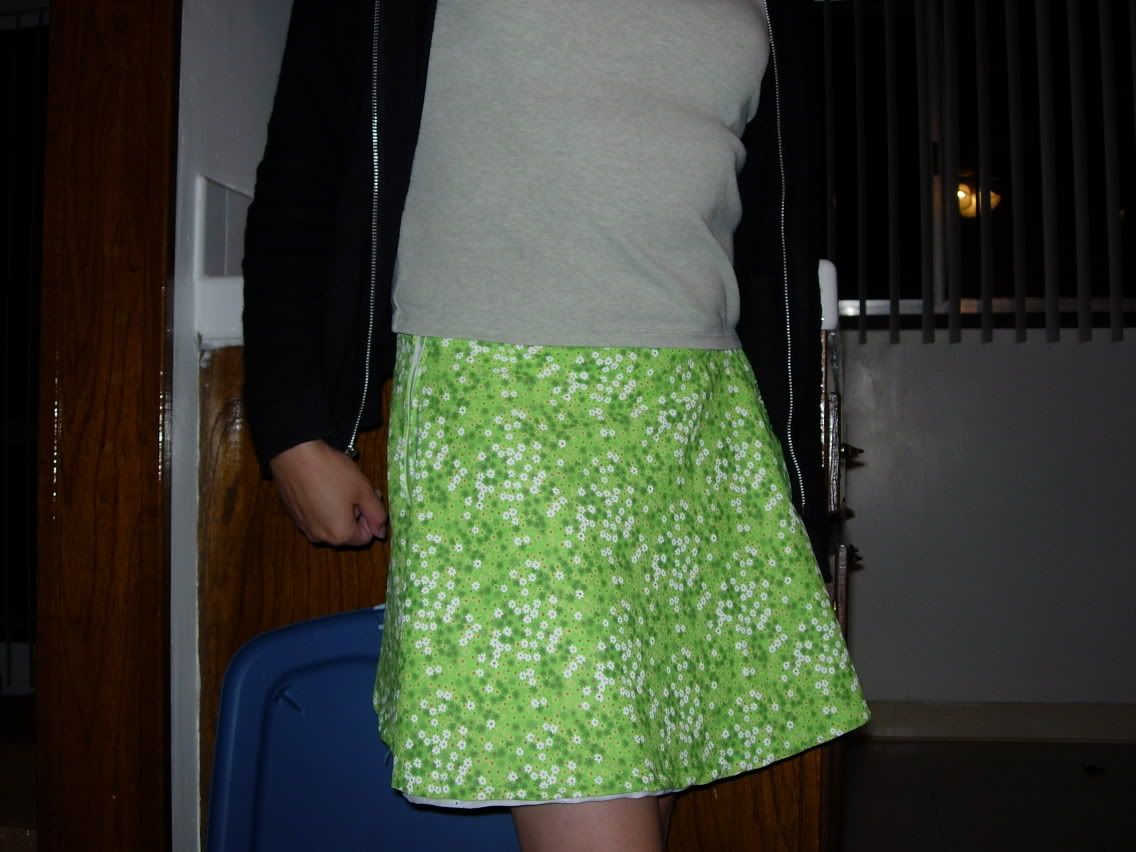
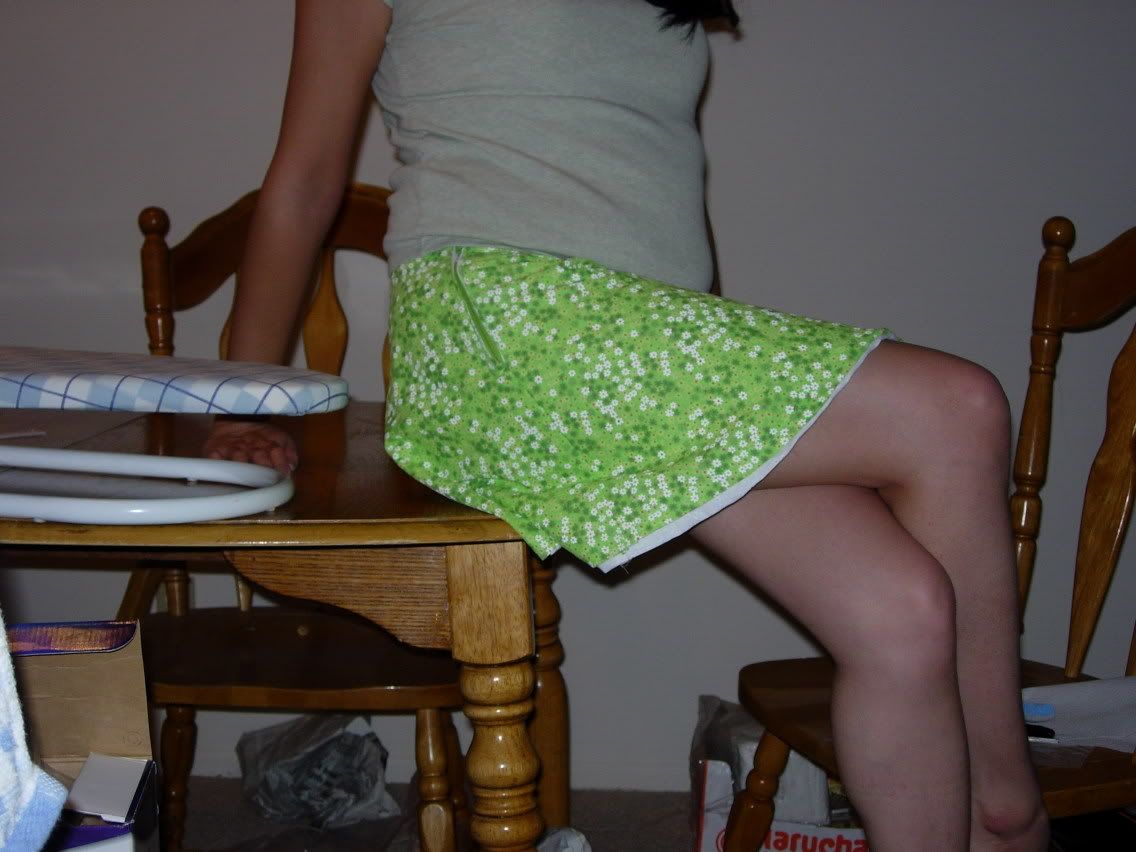
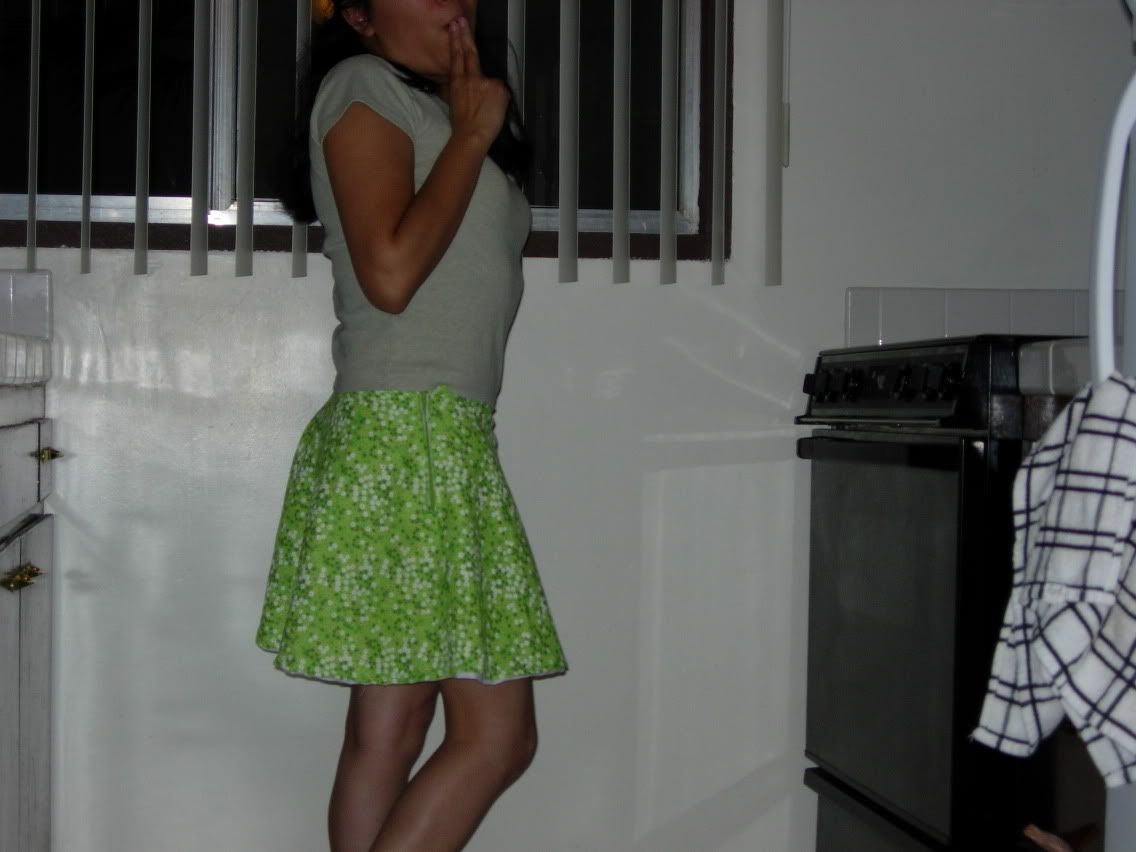
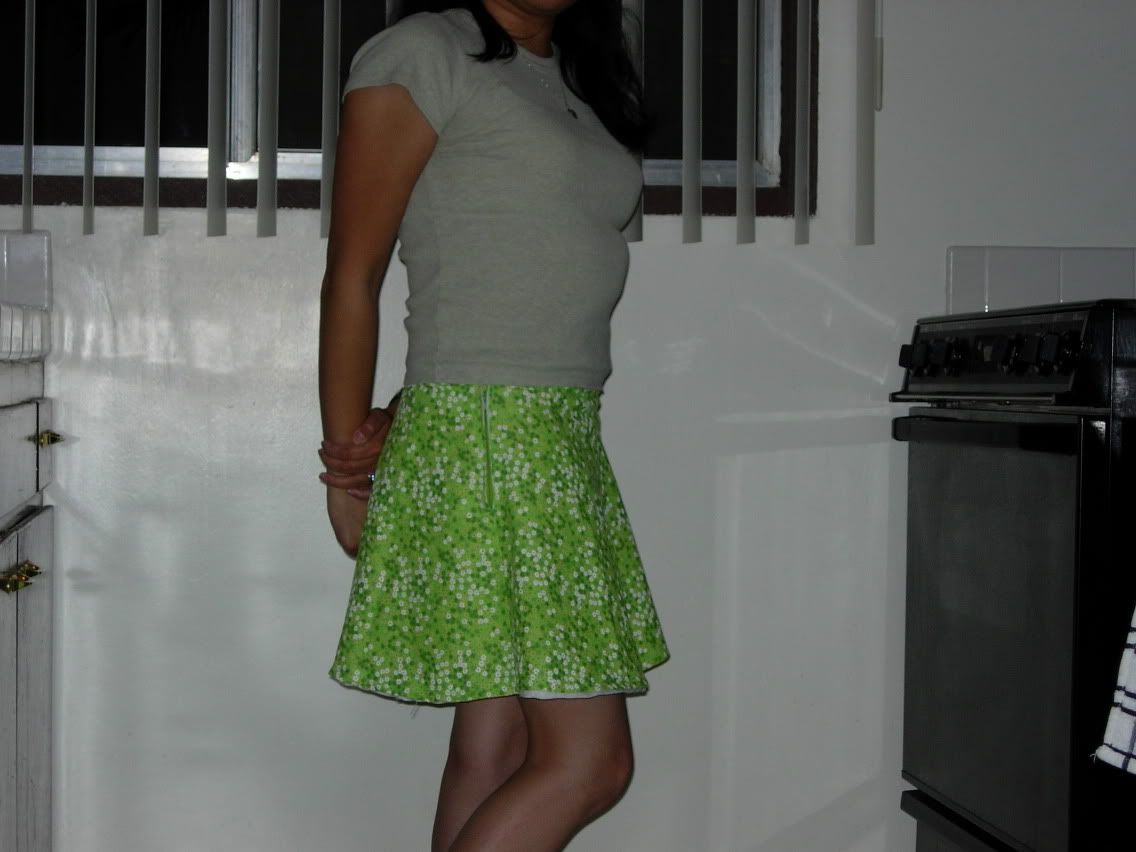
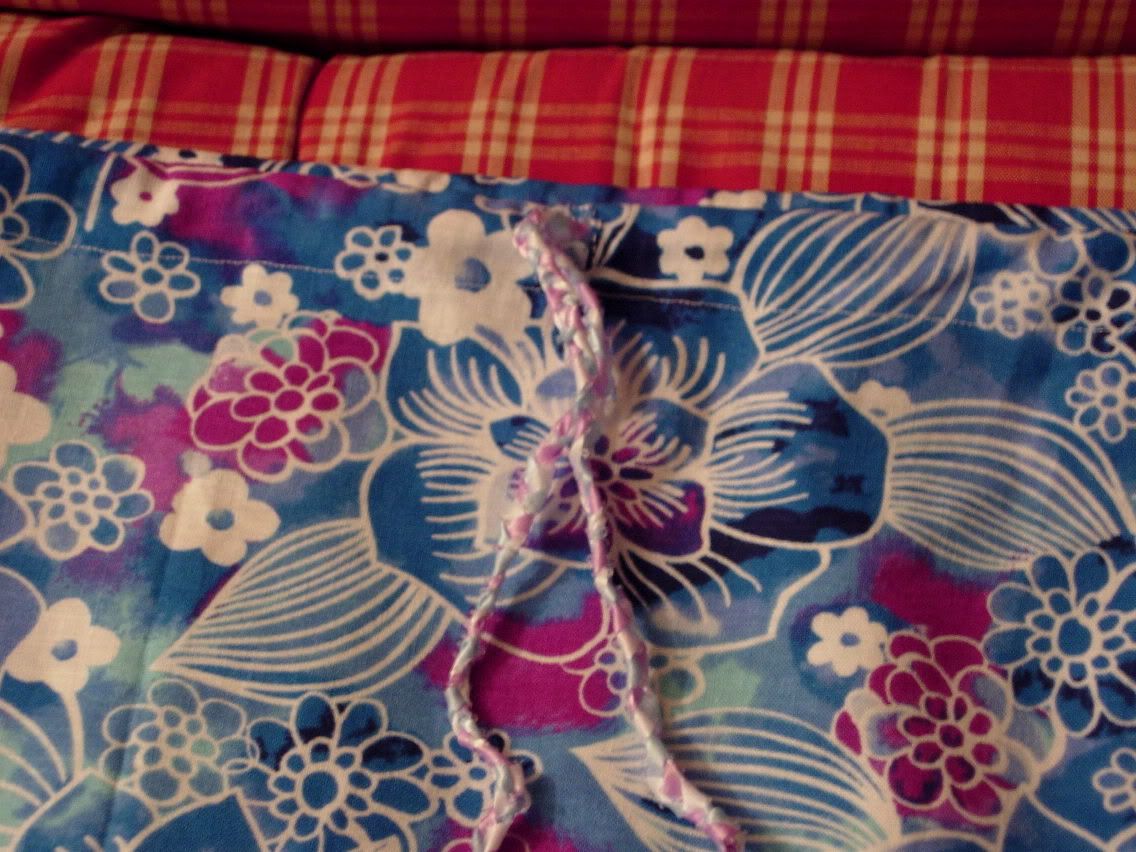
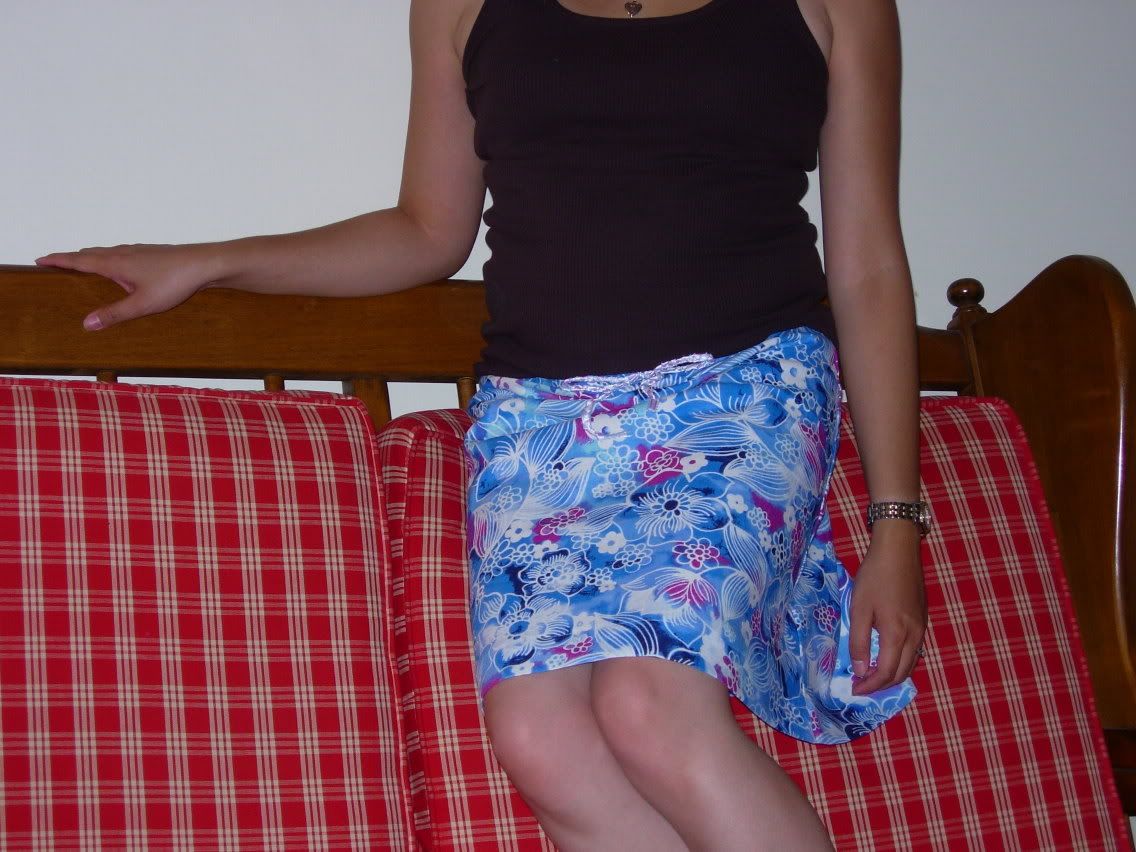
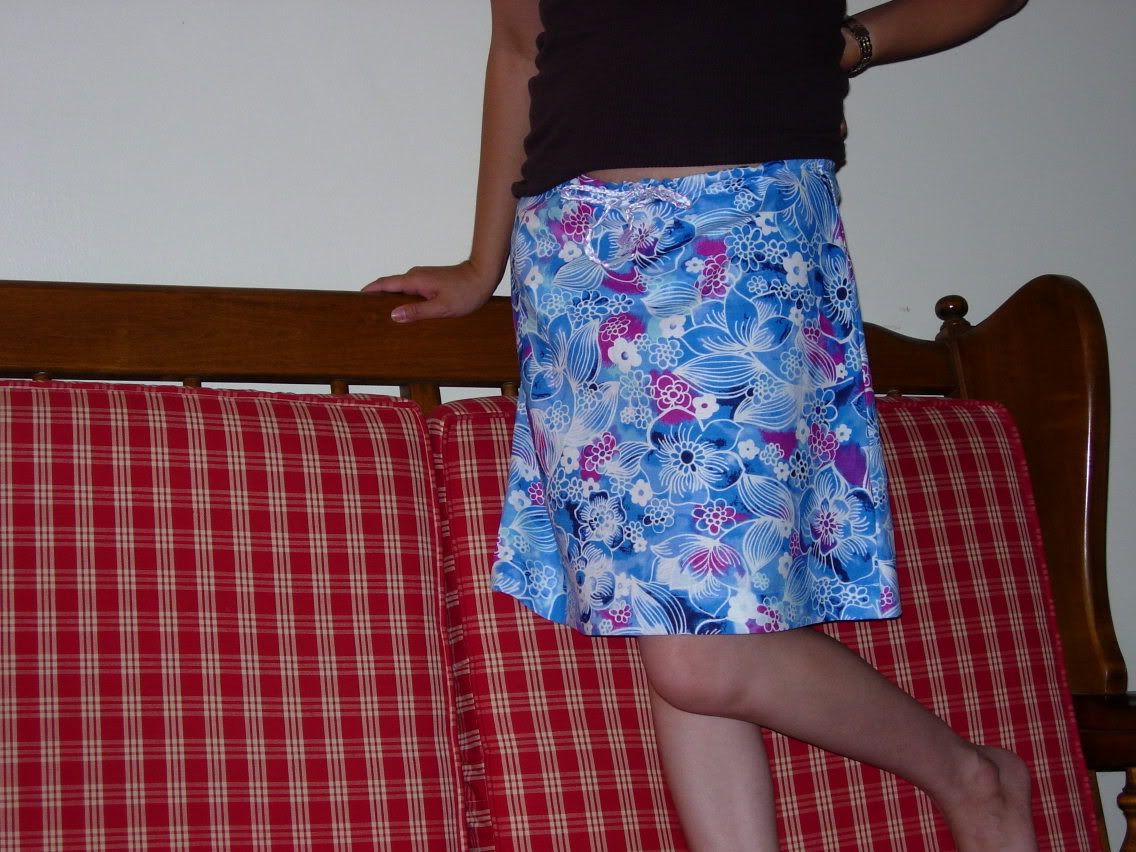
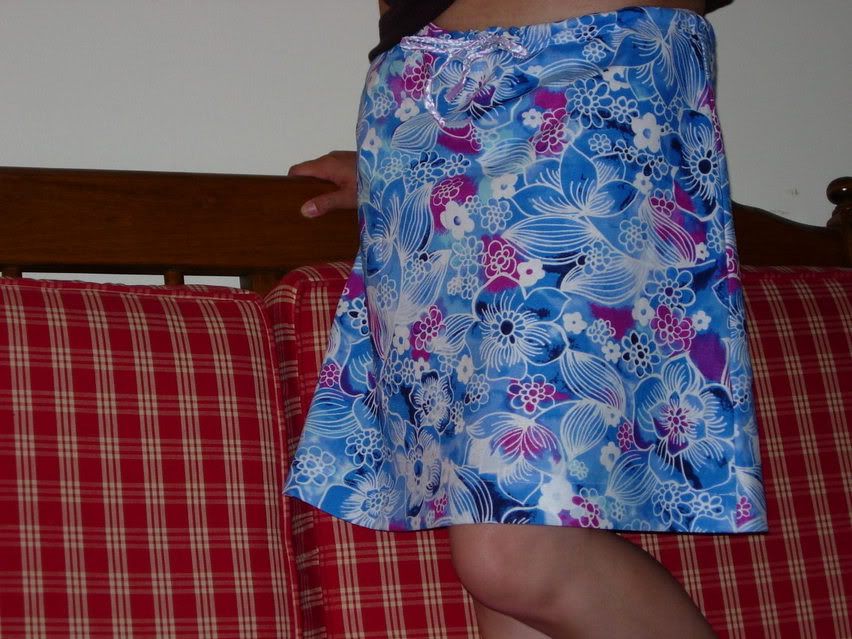
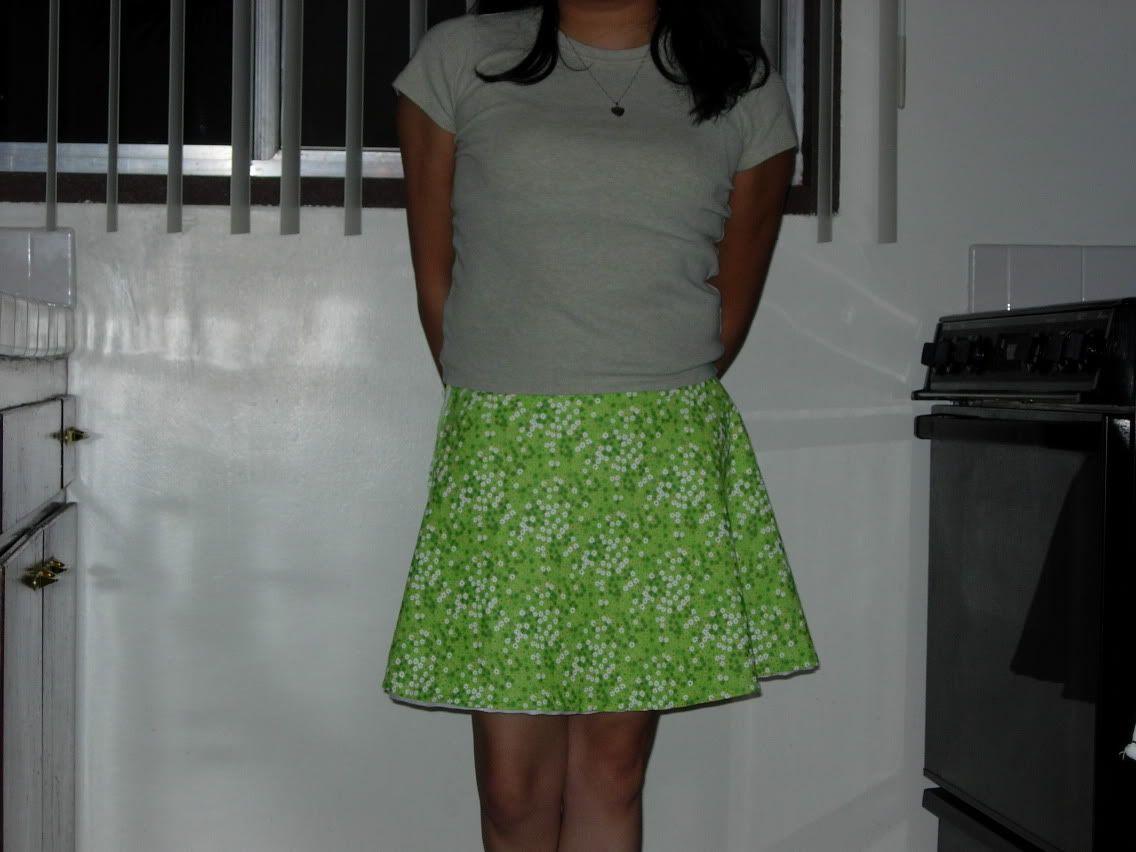 Skirts make me feel like I should be silly and girly, so that's why there's all those dumb poses. Thanks for looking!